A leaking or dripping shower can waste thousands, sometimes tens of thousands, of litres of water each year. With the rising cost of living, that’s not something you want creeping onto your utility bills.
But the impact doesn’t stop at wasted water. Left unchecked, a leaking shower can lead to serious water damage, encourage mould growth, and create bigger (and more expensive) problems down the line. Fortunately, not every leak requires an emergency plumber. Sometimes, a simple fix is all it takes to stop the drip and save your bathroom from further damage.
At Crawford Plumbing, we know how overwhelming it can feel when you notice water where it shouldn’t be. That’s why we’ve put together this DIY guide to walk you through the most common causes and solutions for a leaky shower.
Key Takeaways
- Leaky showers waste significant water: Even minor drips can waste thousands of litres annually, increasing water bills and environmental impact.
- Early action prevents bigger problems: Addressing leaks promptly helps avoid costly water damage, mould growth, and structural issues in your bathroom.
- Common causes are often simple: Most leaks stem from worn washers, damaged O-rings, loose fixtures, or cracked grout and caulking, which can often be fixed DIY.
- Proper diagnosis is crucial: Identifying the exact source of a leak ensures you fix the root cause, rather than just treating symptoms that will recur.
- Basic tools and materials go a long way: Adjustable wrenches, screwdrivers, pliers, silicone sealant, caulk, and replacement washers or O-rings are typically all you need for minor repairs.
- DIY repairs can save money: Simple fixes like replacing washers, resealing grout, or tightening fixtures can prevent costly professional repairs if done correctly.
- Know when to call a professional: Persistent leaks, hidden pipe damage, or complex valve replacements require expert attention to prevent serious water damage and safety risks.
- Maintenance prevents future leaks: Regular inspection, cleaning, resealing shower screens, and upgrading older fixtures extend your shower’s lifespan and keep water where it belongs.
Common Causes of a Leaking Shower
If you don’t know where the water is escaping, you risk patching the wrong area and watching the problem return. Showers are exposed to daily wear and tear, shifts in building materials, and constant changes in temperature and moisture, so it’s no surprise they’re one of the most common sources of household leaks. Here are the main culprits to look out for:
1. Worn-Out Seals and Gaskets
Seals and gaskets are small rubber parts that keep water contained. Over time, they become brittle, crack, or pull away from the surfaces they’re supposed to protect. Because buildings naturally move, expand, and contract with changes in temperature and humidity, gaps often form between the tiled wall and shower floor. All it takes is one worn seal for water to escape and seep into surrounding areas. If your seals look brittle or are no longer sitting flush, it’s a clear sign they need replacing.
2. Loose or Damaged Fixtures
Daily use puts a lot of pressure on shower fixtures. Washers, O-rings, and valve stems wear out, making faucets and showerheads leak. Even connections that look tight can let water escape, especially if mineral build-up from hard water stops parts from sealing properly. Left unchecked, these drips can waste significant amounts of water and increase your utility bills.
3. Cracked Tiles and Grout
When grout chips or tiles crack, water quickly finds its way through. Every day building movement puts stress on grout, leading to small cracks that allow moisture to sneak behind the walls. Over time, this weakens the adhesive holding tiles in place, creating loose or hollow-sounding tiles (often called “drummy tiles”). Once water gets past this barrier, the damage can spread quickly.
4. Pipe Issues Behind the Wall
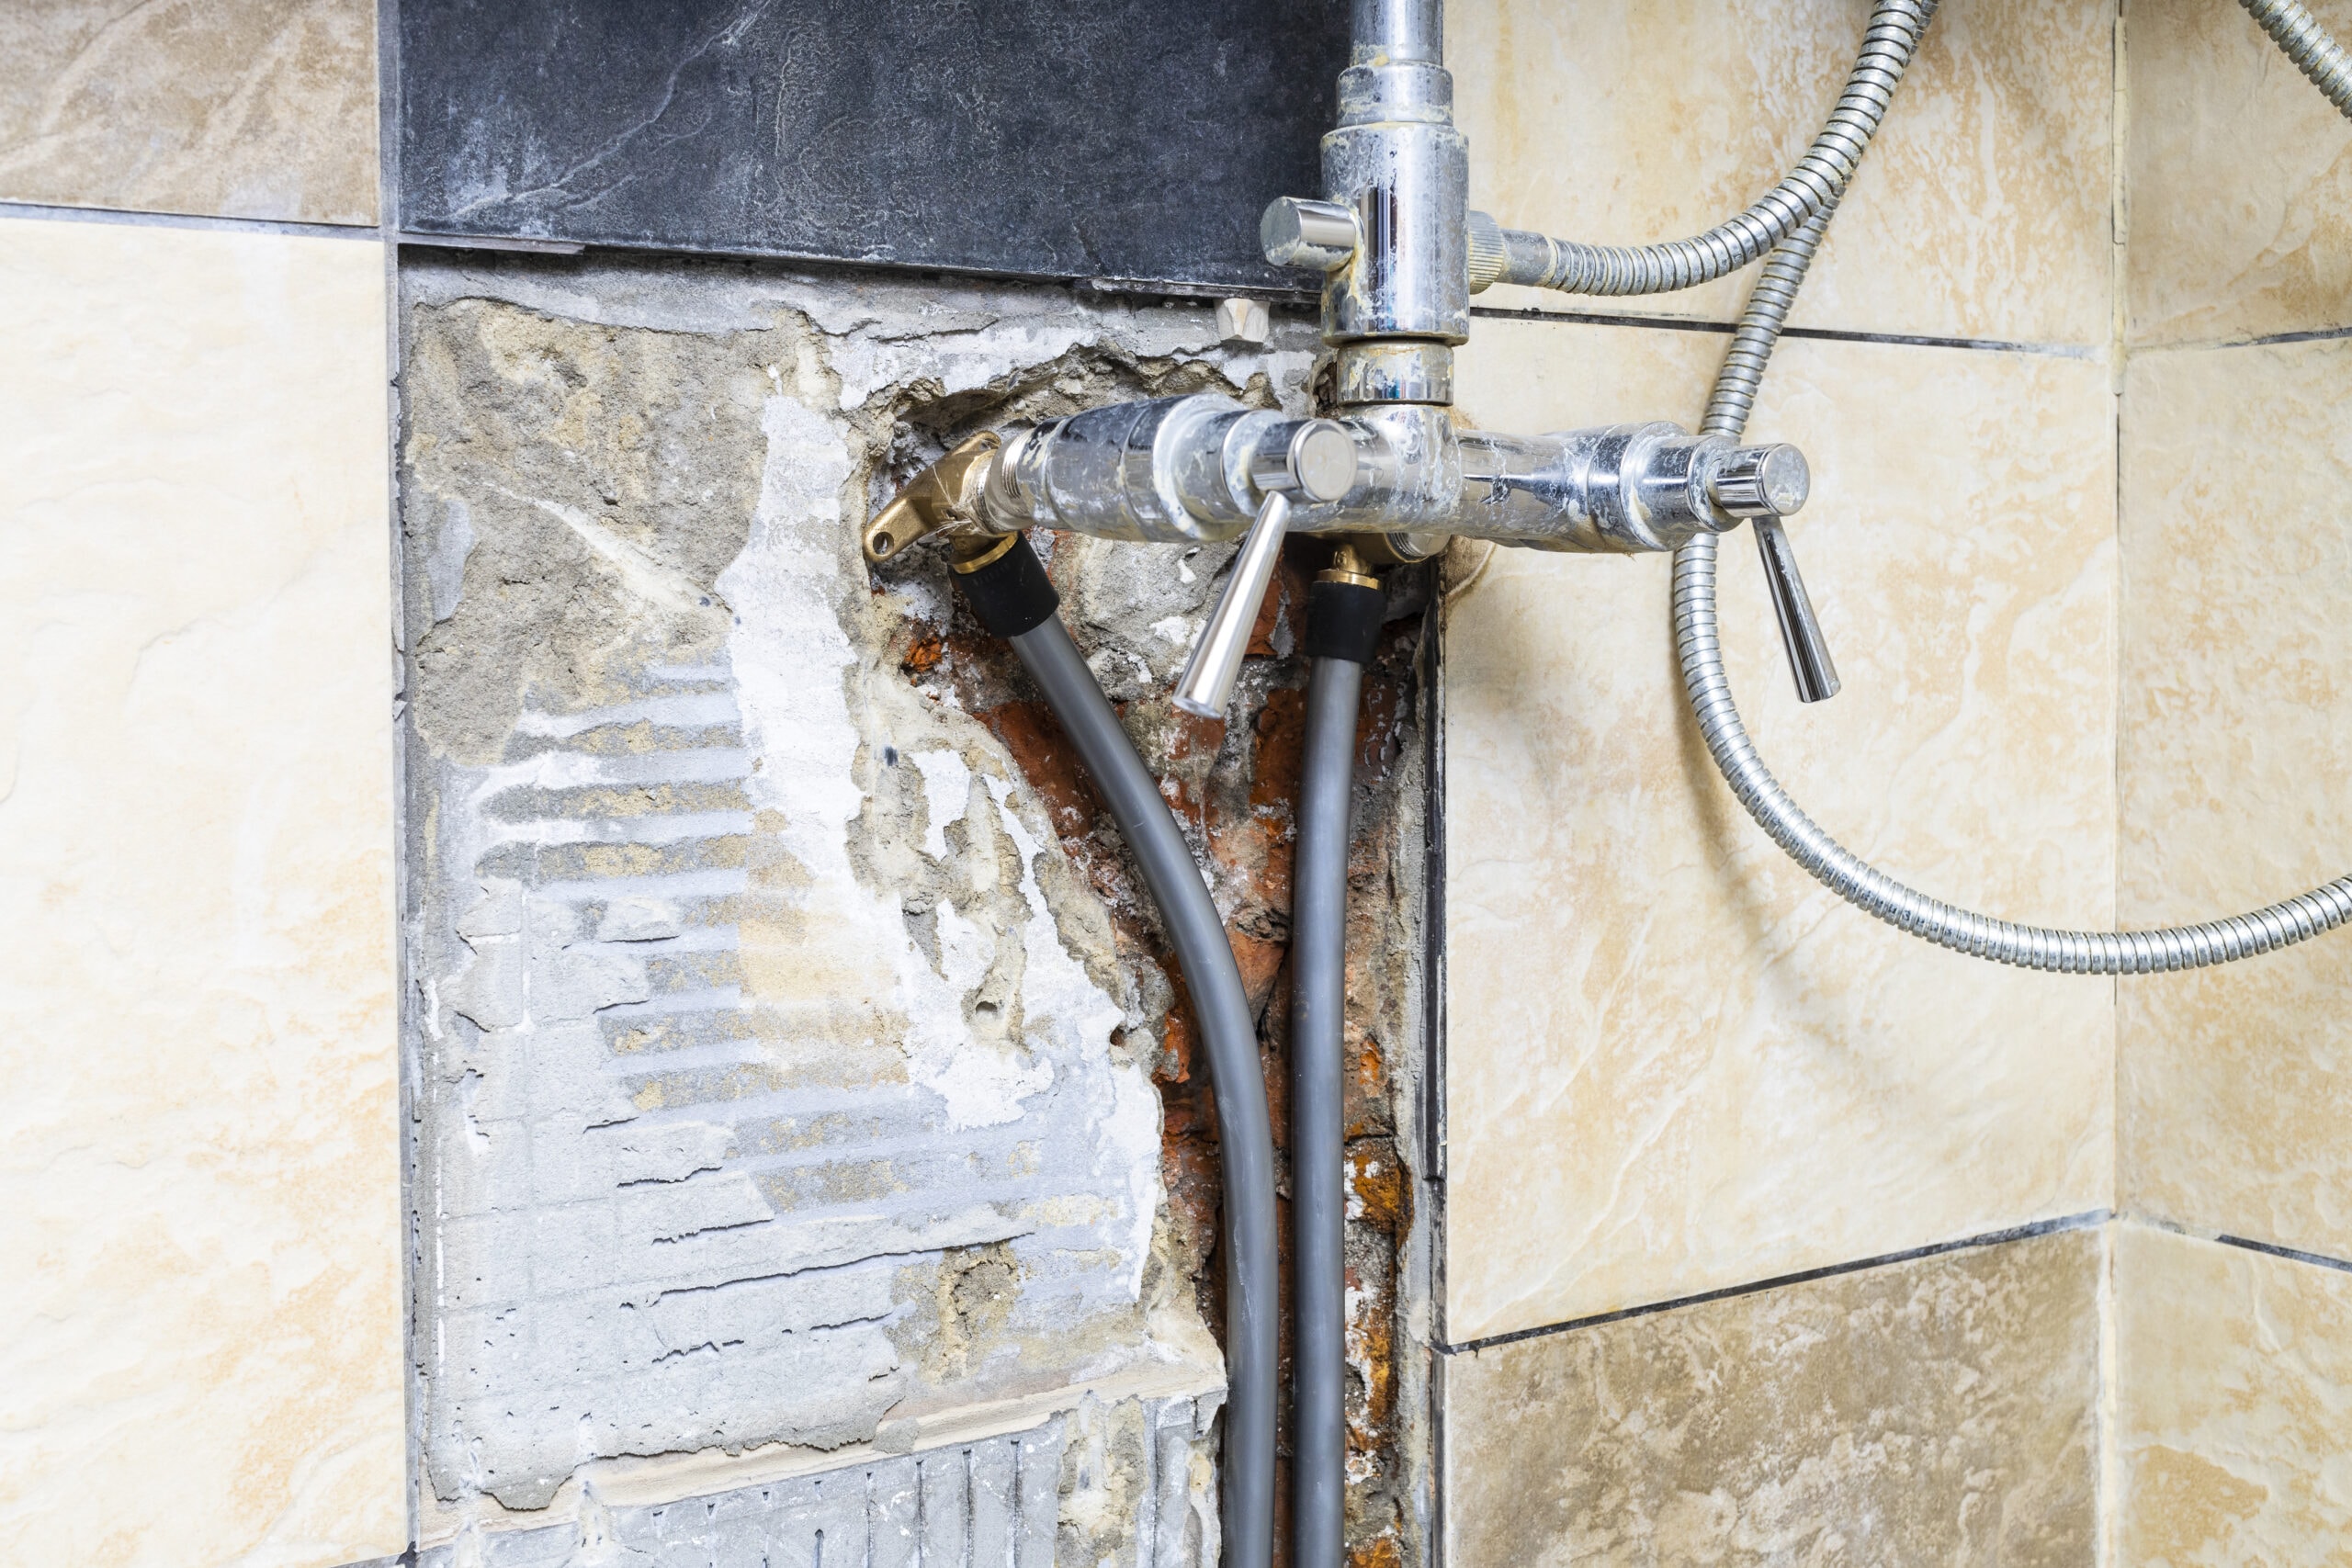
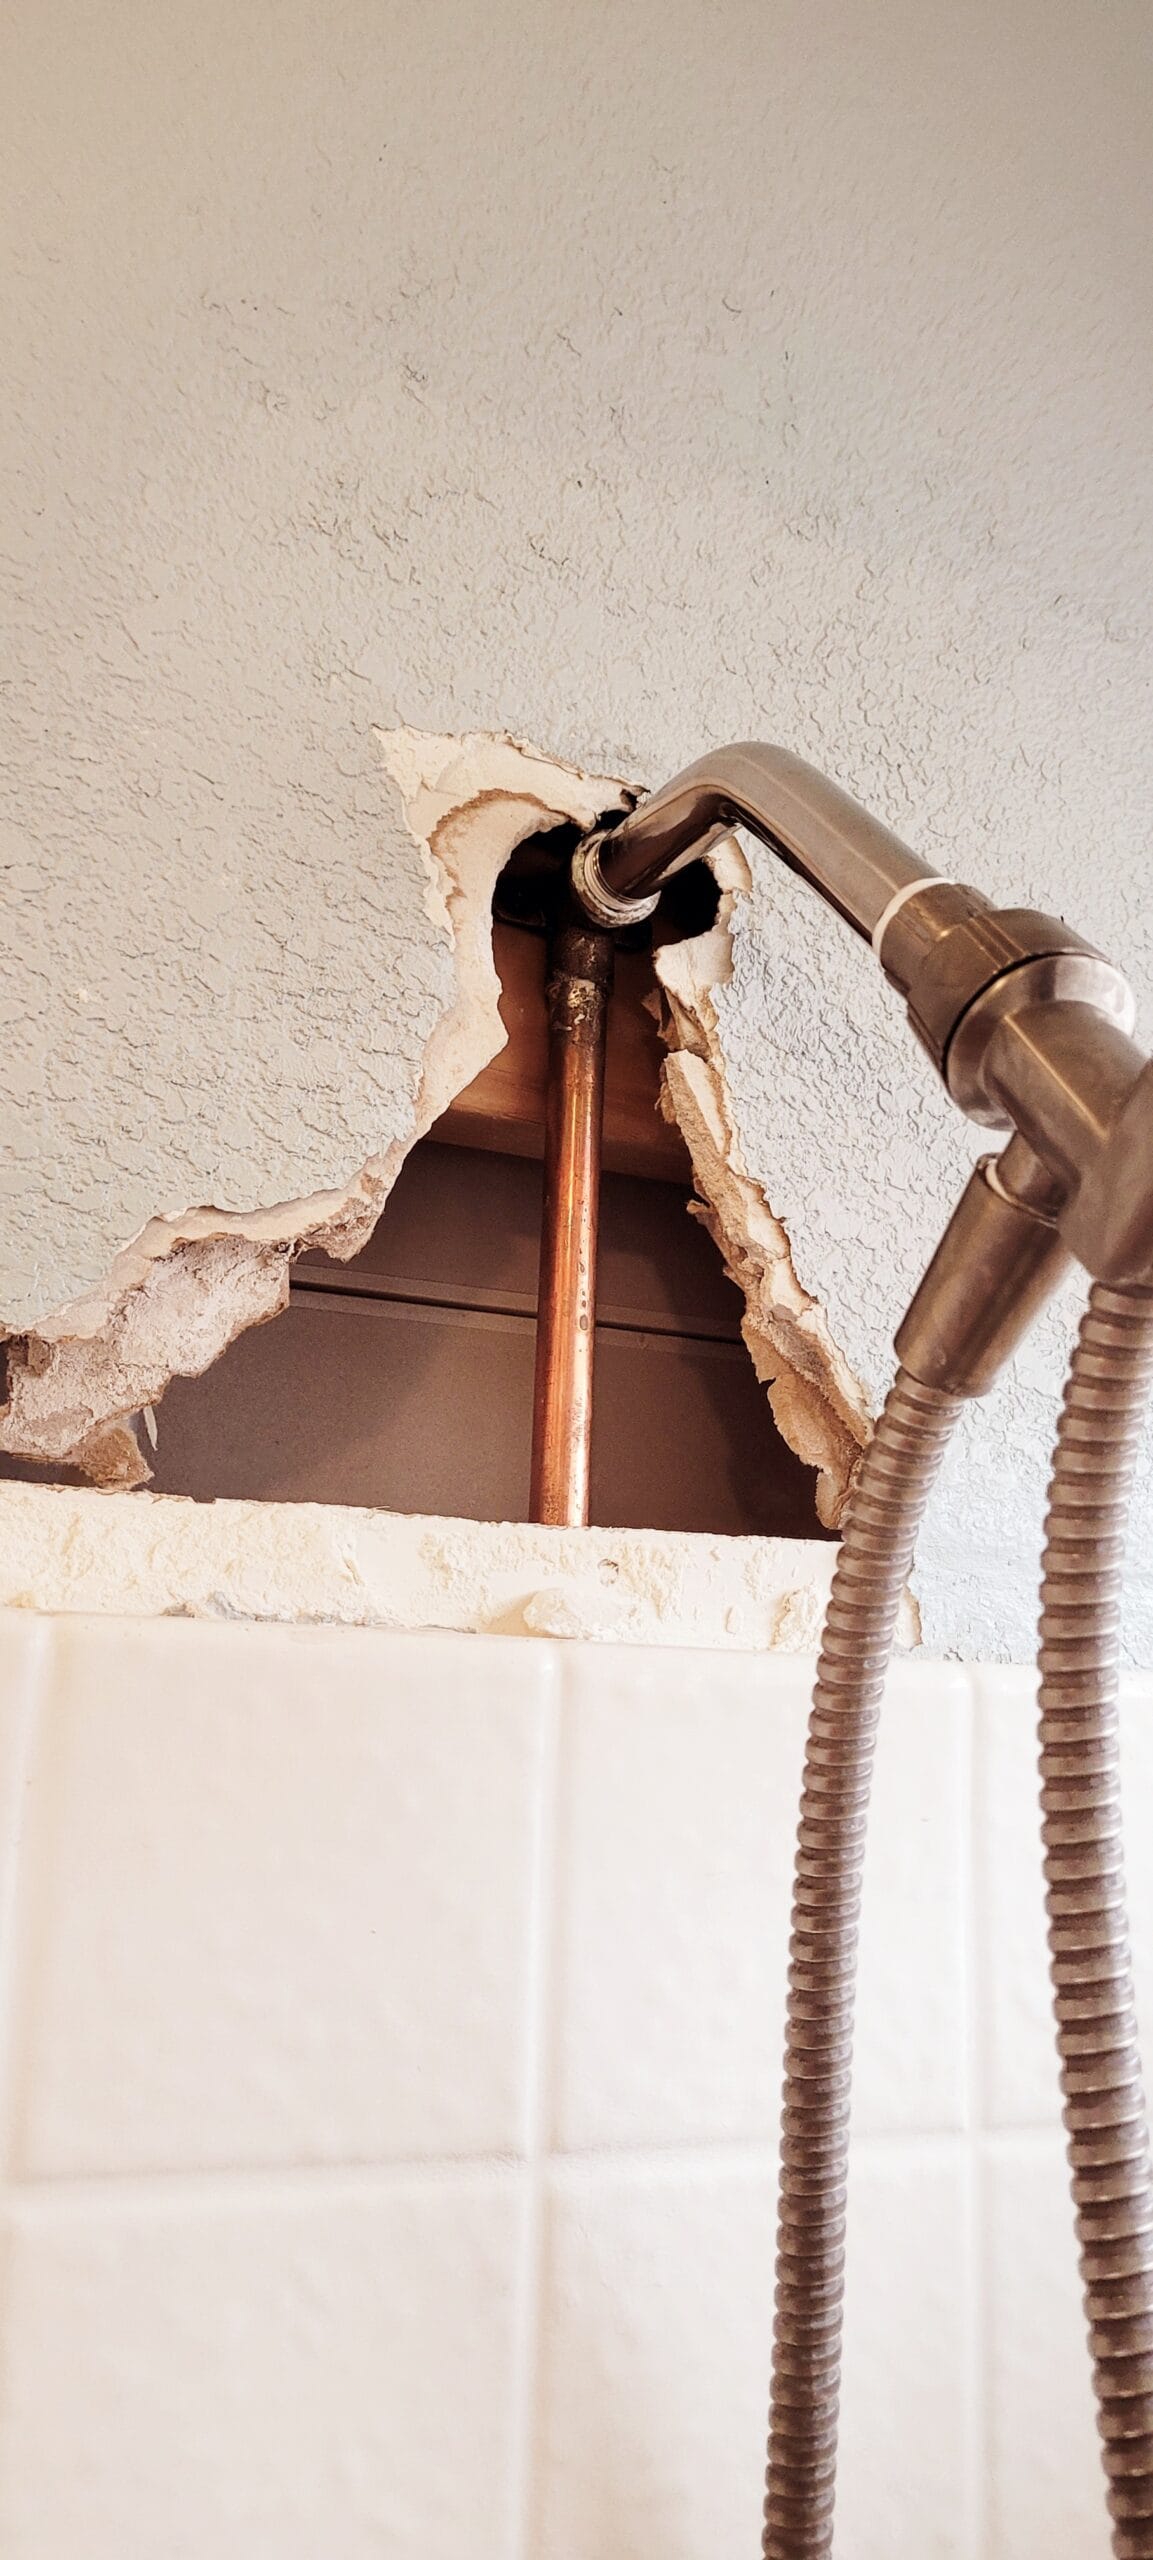
Some of the most damaging leaks are the ones you can’t see. Faulty valves, poor soldering, or tiny cracks in pipes hidden behind walls can steadily release water without you noticing, until the signs become obvious. Keep an eye out for musty smells, water stains on nearby walls or ceilings, or damp spots around the shower. If left untreated, these leaks can weaken structural supports and even cause walls to bulge or collapse.

Tools and Materials You’ll Need
Before you roll up your sleeves, it’s a good idea to gather the right tools and materials. Having everything on hand makes the job faster, less stressful, and ensures you don’t leave your shower half-finished while running to the hardware store.
Basic DIY Tools
These simple tools will cover most shower leak repairs:
- Adjustable wrench: Loosens and tightens nuts and bolts on fixtures.
- Screwdrivers (Phillips and flathead): Essential for removing shower handles, plates, and covers.
- Needle-nose pliers: Perfect for gripping and removing small parts like washers and O-rings.
- Utility knife: Handy for cutting away old caulk, sealant, or trimming replacement parts.
- Allen wrench set: Many modern shower fixtures use hex screws.
- Pipe wrench: Gives you extra grip for turning pipes without damaging them.
- Caulk gun: Applies silicone or caulk smoothly and precisely.
- Safety gear: Safety glasses protect your eyes from water, debris, and chemicals. Gloves shield your hands from sharp edges and harsh products.
- Old towels: Lay them down to protect your bathroom floor and mop up excess water.
- Flashlight: Helps you spot leaks in dark or hidden areas, like behind fixtures or under connections.
Pro tip: Take photos while you disassemble fixtures. This makes reassembly much easier later. Keep small parts organised in labelled containers so nothing goes missing.
Materials for Common Repairs
Depending on the cause of your leak, you may need one or more of these supplies:
- Replacement washers and O-rings: Essential for fixing dripping faucets and showerheads.
- Silicone sealant: Flexible, waterproof, and mould-resistant; ideal for sealing shower edges.
- Caulk: Fills gaps around tiles, tub edges, and fixtures.
- Grout: Repairs cracked or missing grout between tiles.
- Plumber’s tape (Teflon tape): Creates a watertight seal on threaded pipe connections.
- Epoxy putty: Great for quick fixes on cracked shower bases or small leaks.
- Replacement parts: Cartridges, stems, or handles specific to your shower model.
- Lubricant: Helps loosen fixtures that are stuck or corroded.
Many hardware stores also sell shower repair kits that include common replacement parts for specific brands, which can make the process much easier if you know your shower’s manufacturer. Keeping a small variety of washers and O-rings on hand also means you’ll be ready for future quick fixes.
Safety First: Preparing Your Bathroom
The very first step is to turn off your water supply, otherwise, you could end up with more of a flood than a fix. Most homes have separate shut-off valves for the bathroom or even just the shower. These are often found:
- Behind an access panel near the shower
- Under nearby sinks
- Close to your water heater
If you can’t locate a dedicated valve, you’ll need to shut off the main water supply for your home. This valve is usually located at the front of your property under a council cover plate.
Once the water is off, open a few faucets around the house. This drains any leftover water in the pipes, reduces pressure, and prevents accidental spills when you start working on your shower.
Protecting Your Bathroom Floor and Fixtures
Next, prepare your workspace. Repairs can get messy, so take a few minutes to protect your bathroom. Lay down old towels, drop sheets, or plastic barriers to protect floors and fixtures from scratches, water, or falling tools. Place a cloth over the drain hole to catch small screws, washers, or debris. This simple step saves you from dealing with a clogged drain later.
Diagnosing the Leak
With your workspace safe and dry, it’s time to track down the source of the leak. The key is to be systematic:
- Check fixtures and connections: Run your shower and watch closely around the showerhead, faucet handles, and base plates. Leaks that continue after the water is off often point to worn washers or O-rings.
- Inspect tiles, grout, and caulking: Cover the drain with duct tape, fill the shower base with water from another source, and wait 15–20 minutes. Check for water marks underneath. For walls, spray each section separately and look for missing grout, cracked tiles, or damaged caulk.
- Look for hidden pipe issues: Turn off all water sources in your home and check your water meter. If it moves after an hour with no water use, you may have a hidden leak. Signs include damp patches, musty smells, peeling wallpaper, or bulging walls. In these cases, a plumber’s expertise may be needed to confirm the problem.

How to Fix a Leaking Shower Faucet or Showerhead
Most shower leaks start with the faucet or showerhead. These parts are used daily and tend to accumulate wear and tear faster. But with a few basic tools and replacement parts, you can often solve the problem yourself.
1. Replacing Washers and O-Rings
If your shower won’t stop dripping even after you turn it off, worn washers or O-rings are usually to blame. Replacing them is straightforward:
- Turn off the water supply before you begin.
- Remove the handle by unscrewing the decorative cap and loosening the setscrew.
- Unscrew the tap bonnet to access the internal parts.
- Use pliers to pull out the washer at the base of the stem.
- Clean the valve seat thoroughly before inserting the new washer.
- For O-rings, carefully pry out the old one with a small flathead screwdriver.
- Apply plumber’s grease (not oil-based lubricants) to the new O-ring before fitting it into place.
This simple replacement can often stop leaks immediately and restore proper sealing.
2. Tightening or Replacing the Showerhead
A leaky showerhead connection is another common culprit. Here’s how to fix it:
- Unscrew the showerhead while holding the shower arm steady with pliers wrapped in tape (to avoid scratches).
- Clean the threads, removing old plumber’s tape and any mineral buildup.
- Wrap fresh plumber’s tape clockwise around the threads.
- Screw the showerhead back on until snug.
If the leak continues, it may be time to replace the showerhead entirely.
3. Addressing Loose or Faulty Fixtures
Loose handles or poorly fitted fixtures can cause leaks and accelerate wear on valve stems. To fix this:
- Wrap plumbing tape around plastic valve stems before reinstalling the handle.
- Use a wrench to tighten any loose setscrews near the base.
- Apply a thread-locking product to keep screws from loosening again.
Fixing Leaks Around Tiles and Grout
Not all shower leaks come from the faucet. Damaged grout or caulking can let water sneak behind tiles, causing hidden problems.
1. Regrouting Damaged Areas
Old grout becomes porous over time, letting water seep through. Luckily, you can regrout without removing tiles:
- Remove the old grout with a grout removal tool, taking care not to damage tile edges.
- Clean the surface thoroughly to remove dust and residue.
- Mix new grout to a peanut butter-like consistency.
- Press it firmly between tiles with a grout float held at a 45° angle.
- Wipe away excess with a damp sponge, rinsing often.
- Allow the grout to cure for 24–48 hours before using the shower.
2. Re-Caulking Shower Joints
Caulk is essential for sealing shower corners and joints where tiles meet.
- Cut away the old caulk with a utility knife and use caulk remover if needed.
- Clean the area and apply painter’s tape along the joint for a neat finish.
- Use 100% waterproof silicone caulk designed for bathrooms.
- Apply in a smooth motion at a 45° angle, then smooth the bead with a caulking tool or your finger.
- Remove the painter’s tape for clean edges.
Advanced Plumbing Repairs (Optional DIY)
If the problem runs deeper, some repairs require more plumbing know-how. Attempt these only if you’re confident in your DIY skills.
1. Replacing a Shower Valve
A faulty valve cartridge can cause persistent leaks and temperature issues. To replace it:
- Shut off the water supply completely.
- Remove the handle, trim plate, and retainer clip.
- Extract the old cartridge with pliers (use lubricant if it’s stuck).
- Insert the correct replacement cartridge, secure with the retainer clip, and reassemble.
Cartridge replacements are manageable for most DIYers, but replacing the entire valve body is best left to a professional plumber.
2. Fixing Leaks in Pipes
Hidden leaks behind walls are more serious. To investigate:
- Access the plumbing through the shower plate or by cutting an opening behind the wall.
- Inspect valve bodies and pipe joints for moisture.
- Replace damaged sections with compatible fittings.
- Use epoxy putty for temporary fixes and consider adding a waterproof membrane for extra protection.
⚠️ Important: If you suspect leaks near a gas-powered water heater or major pipe damage, call a professional plumber immediately.

Preventing Future Shower Leaks
1. Regular Maintenance Tips
The best way to avoid costly repairs is to keep your shower in good condition with simple, routine maintenance. A quick inspection every 1–2 years can go a long way in preventing water damage.
- Check grout and silicone: While they’re not your shower’s main waterproofing system, they act as a protective barrier. Look for cracks or gaps and reseal when needed.
- Inspect shower screen seals: Over time, gaps can form, allowing water to escape. A touch of waterproof sealant can extend their life.
- Keep your showerhead clean: Mineral buildup causes clogs and uneven spray. Regular cleaning ensures proper water flow.
- Improve ventilation: Opening a window or running an exhaust fan helps prevent mould, mildew, and long-term fixture damage.
- Seal your shower screen annually: Applying a protective sealer reduces soap scum buildup and keeps your glass looking new for longer.
2. The Value of Upgrading Shower Systems
Even with the best care, showers don’t last forever. Most systems should be reviewed after 10–15 years to ensure they’re still performing properly.
Consider an upgrade if you notice:
- Ongoing leaks despite repairs
- Low water pressure or temperature control issues
- Cracks, worn surfaces, or aging fixtures
Newer systems are designed with modern materials that stand up better to daily use. Upgrades like half-turn ceramic disc taps reduce maintenance, while premium silicone sealants provide stronger, longer-lasting seals.
Signs It’s Time to Call a Professional
Not all leaks can be fixed with DIY. Knowing when to bring in an expert saves you time, money, and stress.
- Persistent or major leaks: If the problem continues after multiple attempts, or you notice a sudden spike in your water bill, it’s time to call in the pros.
- Water damage behind walls or floors: Stains, musty smells, or peeling paint may point to hidden leaks and mould. Plumbers use advanced tools like thermal imaging cameras to locate problems without tearing into walls unnecessarily.
- Complicated plumbing issues: Anything involving gas lines, sewer systems, or permits should always be left to licensed professionals.
DIY Shower Repair Is More Simple Than You Think!
Leaky taps or showers may seem small, but they can quickly turn into bigger problems. But, it doesn’t have to feel overwhelming! With the right preparation, tools, and a bit of patience, you can tackle many common issues yourself – saving both money and stress!
That said, not every leak has a quick DIY fix. When repairs become complex, or you’re dealing with stubborn leaks behind walls or faulty valves, it’s best to call in the pros. At Crawford Plumbing Vic, we take the hassle out of plumbing problems. From quick fixes and leak detection to complete shower repairs and replacements, our friendly team makes sure your bathroom stays watertight, efficient, and worry-free.

